Sailing Knots Made Simple: 4 Essential Knots Every Sailor Should Master
/Get step-by-step instructions to learn the top 4 sailing knots. Ideal for beginner sailors looking to improve their line work and onboard skills.
By Michelle Segrest – How to Get Your Sea Legs
Knots matter on a sailboat. Onboard a sailboat, every knot has a purpose. Whether it’s tying off at a dock, securing a sail, or stopping a line from disappearing into a block, the right knot makes all the difference. While decorative knots may be beautiful, the knots we’re focusing on are about function, safety, and seamanship.
Sailing knots aren’t just tradition—they’re tools. Tied correctly, they prevent equipment damage, reduce hazards, and give sailors the confidence to act quickly when it counts. Every beginner should know how to tie a few basic knots that are used almost daily on board.
What You’ll Learn
The most useful beginner knots—bowline, cleat hitch, clove hitch, and stopper knot.
When to use each knot onboard and why it matters.
Practice strategies to build confidence and speed without frustration.
Step-by-Step Guide to 4 Essential Sailing Knots
Here are four time-tested knots every new sailor should learn. With a little practice, they’ll become second nature—ready to deploy in any condition, even one-handed or in the dark.
Interactive pdf
If you want to learn to sail, the first step is to learn the language.
Sailors communicate in a special way that can seem daunting for beginners. This book includes the Top 10 Nautical Terms every sailor should know and the most common Rules of Engagement. Most important, the simple definitions of more than 1,500 nautical terms are included so that you can begin to get your sea legs and speak like a sailor right now!
Nautical terms stand in a proud tradition and you won’t find a more comprehensive collection of definitions anywhere. Sailing lingo is often practical and will definitely add to your self confidence once these nautical terms become part of you own repertoire. This book will help you learn to talk like a sailor - but don't forget that it takes more than words to run a boat.

1. The Bowline – Your Best Friend at Sea
Often called the “king of knots,” the bowline creates a strong, secure loop at the end of a line. It won’t slip or jam, yet it’s easy to untie—even after bearing heavy loads. It’s commonly used to attach a line to a post, cleat, or other object.
How to tie a bowline:
Form a small loop in the line.
Pass the working end up through the loop (the rabbit comes out of the hole),
Wrap it behind the standing line (around the tree),
Then bring it back down through the loop (and back into the hole).
Pull tight.
It’s simple, reliable, and incredibly versatile.
2. The Cleat Hitch – Securing Your Vessel
The cleat hitch is your go-to docking knot. It secures your line to a cleat and ensures your boat stays put, even in rough waters or shifting tides. If tied properly, it won’t come loose on its own—and it’s easy to release when you're ready to cast off.
How to tie a cleat hitch:
Wrap the line once around the base of the cleat.
Make a figure-eight over the top of the cleat.
Tuck the free end under the final loop to lock it in place.
This knot is essential for mooring and docking.

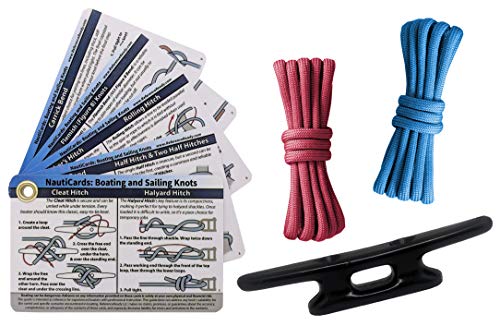
3. The Rolling Hitch – Reliable and Strong
When you need to attach a line to a pole, post, or another line under load, the rolling hitch is your knot. It holds tight in one direction and is often used to relieve tension on lines, adjust sails, or secure spars.
How to tie a rolling hitch:
Wrap the line around the object once.
Cross over the standing part and make a second wrap.
Add a third wrap above the first two (not crossing over).
Tuck the end under the last wrap and pull tight.
It’s derived from the clove hitch but offers superior grip and security.
4. The Figure of Eight – The Perfect Stopper Knot
The figure of eight knot is a simple stopper knot used to keep a line from slipping through blocks, pulleys, or fairleads. It’s also handy for preventing ends from fraying or vanishing into hardware.
How to tie a figure of eight knot:
Make a loop by crossing the working end over the standing line.
Wrap the end around and behind the standing line.
Pass it through the loop from behind.
Tighten firmly.
It’s quick, effective, and easy to untie—exactly what you want from a stopper.
Practice Makes a Confident Sailor
Learning knots isn’t just about technique—it’s about muscle memory. The goal is to be able to tie these knots automatically when it matters most, whether under pressure, in motion, or with wet hands. It’s important to learn, apply, and repeat often.
Here are a few practice tips:
Use real lines (not string or yarn) for realistic feel.
Practice both on land and at sea.
Time yourself tying knots blindfolded or behind your back.
Create real-world scenarios: docking, anchoring, securing sails.
By mastering these four knots, you’ll gain confidence, increase your safety, and earn the respect of seasoned sailors.
For more sailing resources, check out Michelle Segrest’s library of sailing books.
Key Takeaways
A few strong knots done well are more useful than dozens memorized poorly.
Knots connect safety, control, and seamanship—mastery builds pride and confidence.
Repetition builds muscle memory: learn slowly, practice often, use daily.
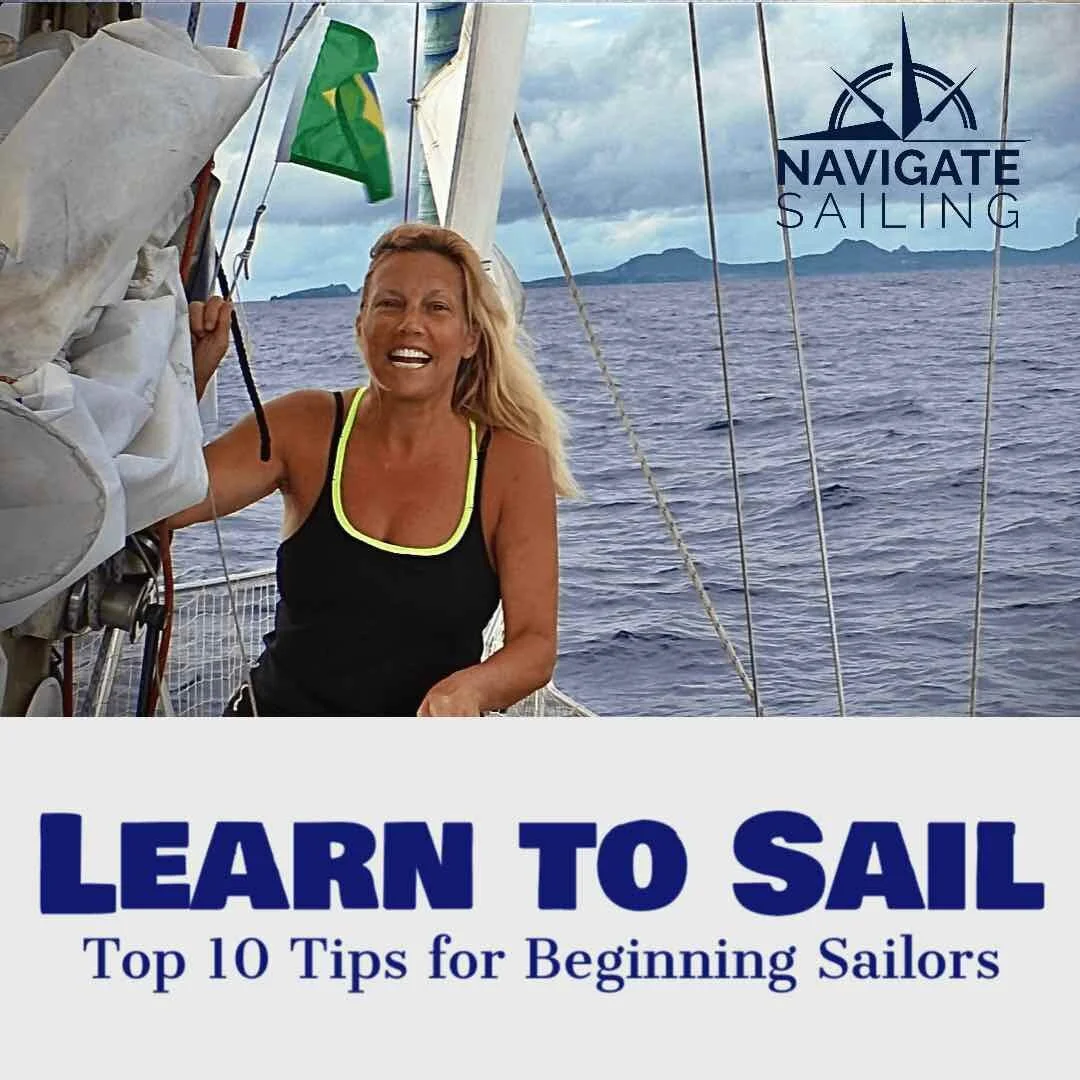
Michelle Segrest is an experienced sailor who has sailed more than 10,000 nautical miles, including a year-long, cross-Atlantic voyage with her two beagles, Cap’n Jack & Scout. She is the author of a best-selling sailing memoir, Living Life Sideways and a series of children’s travel books that focuses on teaching kids about geography, culture, and history. This blog focuses on expert tips for beginners and tips for sailing with dogs.